Multi-Class Check-in Kiosk | One Kiosk For Everyone
Why a multi-class check-in kiosk?
First you have multiple simultaneous classes or meetings. Second you must validate who’s at each class/meeting. Third, confirming who attended is important for certification, parental reports, etc. Next you know using a kiosk for each class or meeting is easy. However classes are small, to save money you want one kiosk for all classes/meetings.
Setup Your Classes, Meetings, Or Events for Multi-Class Check-in Kiosk
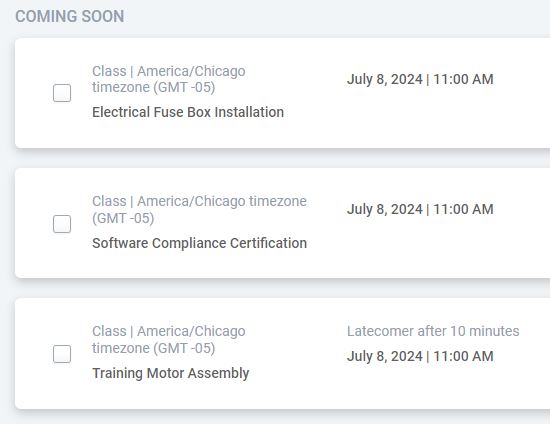
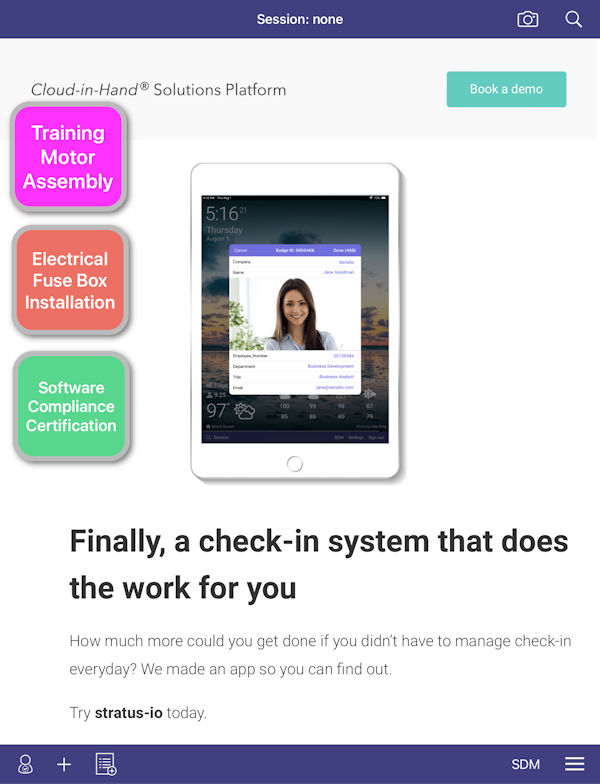
First use your Cloud-In-Hand® Stratus-io Time & Attendance admin account to define your classes, meetings, or other events. Here we we have three simultaneous classes.
Setup iPad Floating Button For Each Class/Event
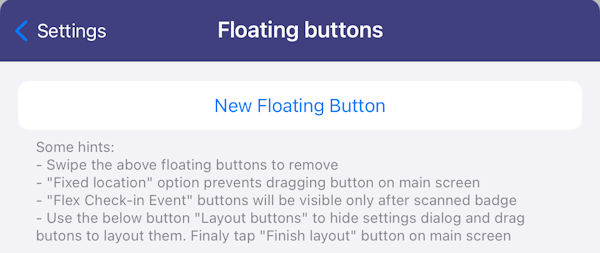
Second open Stratus-io Time & Attendance App on iPad or iPhone, go to Settings and setup the floating buttons.
Next setup a Floating Button for each class available as people check-in.
First tap “New Floating Button”.
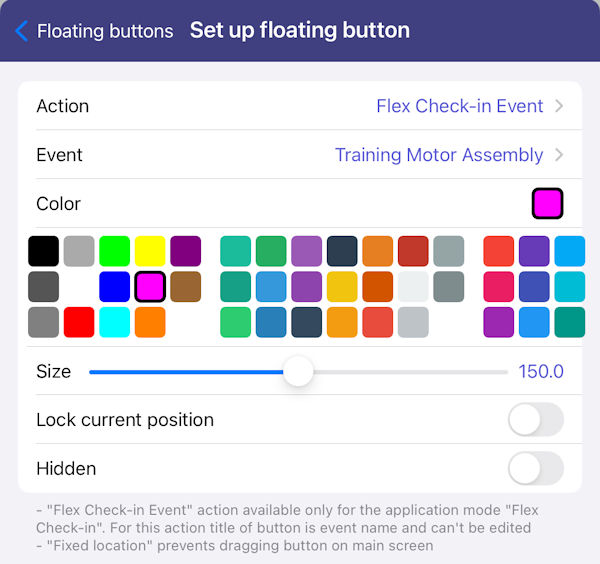
Second on the “Select acton for floating button” selector tap “Flex Check-in Event”.
Third on the “Select event for floating button” tap the class/event for that button.
Fourth setup the size and color of the floating button for the class/event.
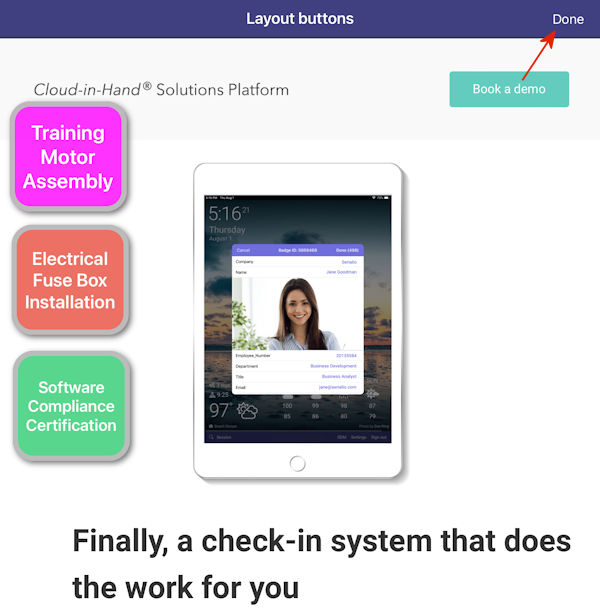
Finally use “Layout buttons” to position the locations for the floating buttons using touch-and-drag. Tap “Done” positioning is finished.
Attendees Select Class/Event To Check-in On RFID or Barcode Scan
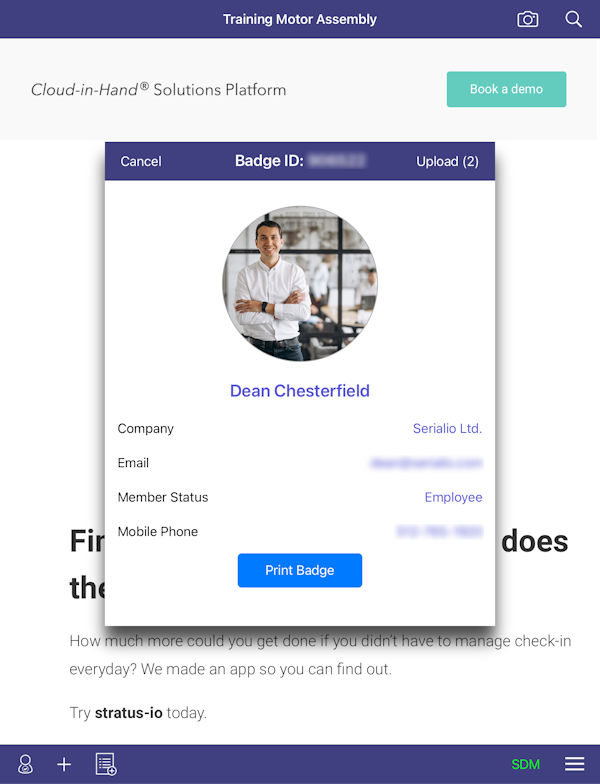
First attendee scans their badge with idChamp® brand or Scanfob® brand RFID reader, or barcode scanner. Second attendee checks-in with iPhone with an employee badge in their Apple Wallet. Third They check-in manually when they forget their badge and phone. Forth attendee sees the classes/events that are available for them to check-in.
Finally, attendee taps the class/event for check-in and they are checked in.
Use multi-class check-in kiosk for your school, church, business, and any organization.
Get started by contacting us with your attendance check-in needs.

